Fitting Tile Trim After Tiling
Trim After Tiling Diy Tiling Tiling Courses Tiling Tools Tilersforums Com

How To Make Exposed Tile Edges Look Finished Tile Edge Bullnose Tile Backsplash

How To Finish Tile Edges And Corners Tile Mountain

Pin By Emma On Genius Tile Edge Tile Edge Trim Tile Trim

Inserting Capping Trim Into Skirting Tiles Youtube

Installing Tile Edging Howtospecialist How To Build Step By Step Diy Plans
It is quick and easy to install see the video demonstration below.
Fitting tile trim after tiling.
Tile Edge Trim How To Choose It And Install It 2020 Update

How To Finish An Edge Of Tile On A Wall Youtube
5 Tile Edge Trim Options Besides Bullnose Tile Diytileguy

Quarter Round Trim Ending Tile To Wall Bathtub Tile Tile Edge Tile Trim

Super Simple Diy Tile Backsplash Diy Tile Backsplash Diy Tile Metallic Backsplash

Bathroom Tile Tile Edge Tile Bathroom Bathroom Wall Tile

Tiling Our Shower Bathroom Shower Design Tile Tub Surround Bathroom Floors Diy
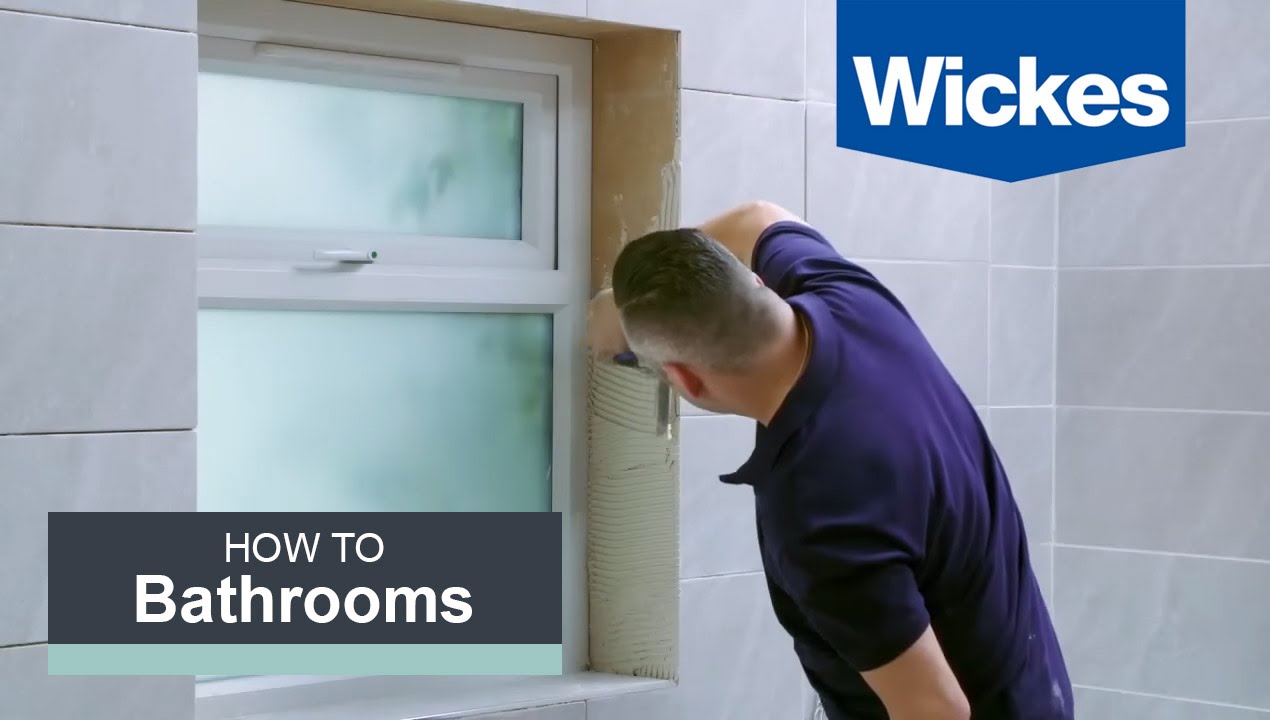
How To Tile Around A Window With Wickes Youtube

How To Tile Around Windows By Yourself Youtube

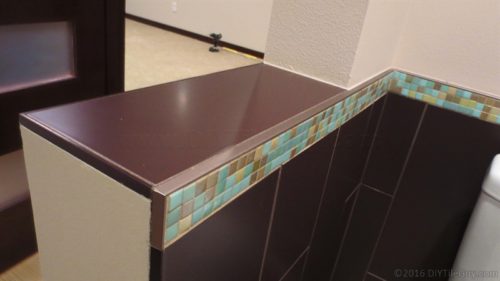
Bathroom Update Metal Trim House Counselor Bathroom Update Metal Trim Bathroom Makeover

Image Result For Schluter Strips Around The Window Tile Trim Tile Around Window Small Bathroom Makeover

Schluter System Rondec Chrome Edge Profiling Master Bathroom Decor Tile Edge Shower Renovation

Mitre Of Outside Corner Of Shower Curb Shower Curb Tile Edge Tile Backsplash

Tile Baseboard Design Ideas Pictures Remodel And Decor Tile Baseboard Baseboard Styles Bathroom Baseboard

Tiling Inside Corners Ceramic Tile Advice Forums John Bridge Ceramic Tile 1 16th Gap Shower Wall Shower Tile Bathroom Shower Walls

Pin By Layla Palmer On Tile Tile Edge White Tile Backsplash Tile Backsplash

Tile Outside Corners Tile Edge Trim In Aluminium Concealed Outside Corner Mosaictec Rjf Tile Edge Tile Edge Trim Bathroom Design

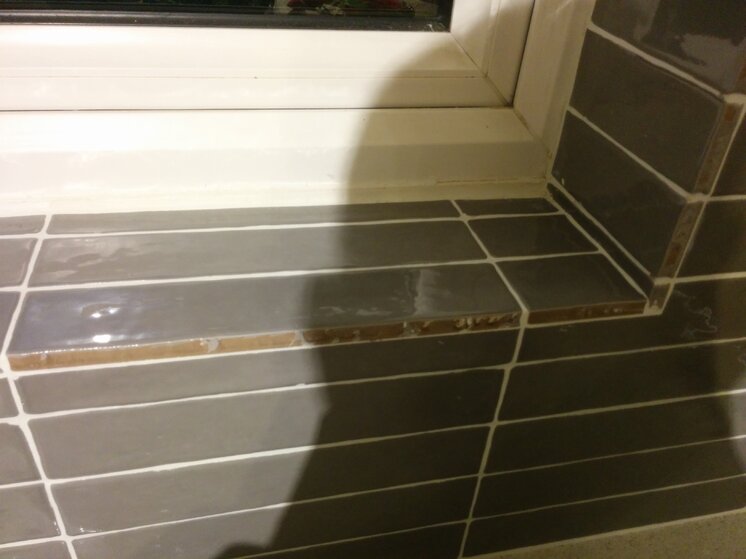
Subway Tile Installation And Bathroom Window Trim Part Ii In 2020 Tile Around Window Window In Shower Tile Bathroom
Https Encrypted Tbn0 Gstatic Com Images Q Tbn 3aand9gctktfputik6t05xdfjndybd8vvsskl4hjf Kxbwdzdwdep8xly Usqp Cau

Schluter Rondec Edging Outside Wall Corners For Walls Profiles Schluter Com Tile Edge Bathroom Wall Tile Room Wall Tiles

I Need Pictures Of White Subway Tile Kitchens Forum Gardenweb Beveled Subway Tile Tile Edge Diy Backsplash

Do Replace Outlet Covers Once The Hard Work Of Tiling Is Done You Ll Need To Put Subway Tile Backsplash Diy Tile Backsplash Subway Tile Backsplash Kitchen

Using Schluter Trim Profiles With Subway Tile Simple Kitchen Remodel Inexpensive Kitchen Remodel Subway Tile

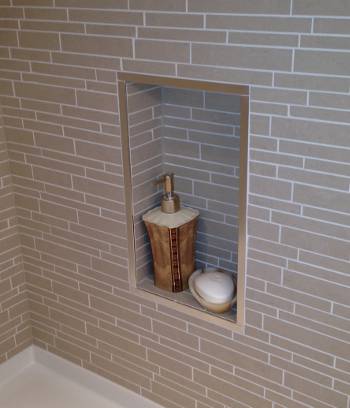
Schluter Edge On Shower Niche Shower Niche Bathroom Remodel Shower Bathroom Design Small Modern
Source : pinterest.com
