Fitting Tile Trim After Tiling Uk

How To Make Exposed Tile Edges Look Finished Tile Edge Bullnose Tile Backsplash

Pricing For Tiling Tile Trim Bathroom Installation Small Bathroom Makeover
Trim After Tiling Diy Tiling Tiling Courses Tiling Tools Tilersforums Com

Livin On The Edge Tile Edge Tile Edge Trim Tile Trim

How To Finish Tile Edges And Corners Tile Mountain

Schluter System Rondec Chrome Edge Profiling Master Bathroom Decor Tile Edge Shower Renovation

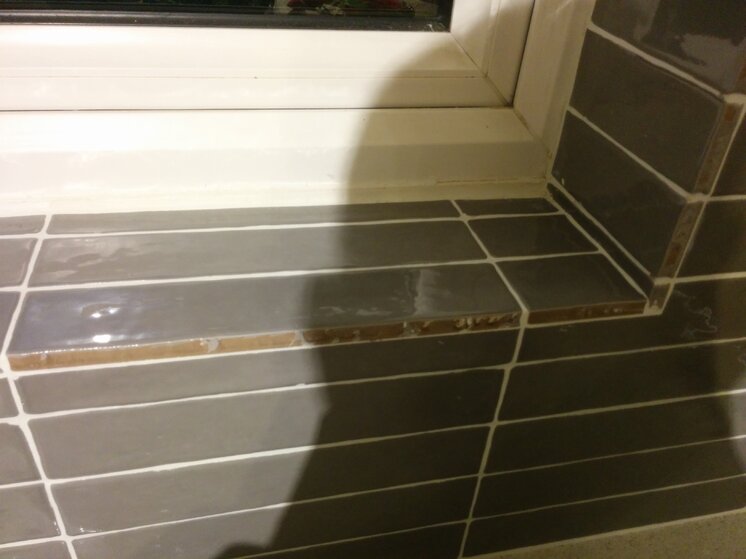
How to finish tile edges.
Fitting tile trim after tiling uk.

Aluminium Tile Trim Google Search Tile Trim Metal Tile Tile Edge

Schluter Brushed Stainless Kerdi Drain Brushed Stainless Schiene Shower Tile Bathroom Shower Walls Bathroom Tile Installation

Bathroom Update Metal Trim House Counselor Bathroom Update Metal Trim Bathroom Makeover

How To Finish Tile With Metal Edging Dans Le Lakehouse Metal Edging Tile Edge Tile Trim

Image Result For Schluter Strips Around The Window Tile Trim Tile Around Window Small Bathroom Makeover

Tools4tiles Straight And Round Edge Quality Metal Tile Trim Available In Stainless Steel Effect And Chrome Bright Polished Tile Trim Tile Cladding Tile Edge

Genesis Straight Edge Brushed Nickel Tile Trim Esa Buy Metal Straight Edge Esa Ess Online Northants Tools Tile Trim Interior Tiles Plastic Tile

Bathroom Window Tile Trim Ideas In 2020 Tile Trim Wall Trim Bathroom Windows

How To Finish Tile Edges And Corners Tile Mountain Tile Edge Bathroom Shower Tile Shower Tile
Quarter Round Trim Ending Tile To Wall Bathtub Tile Tile Edge Tile Trim

Tile Baseboard Design Ideas Pictures Remodel And Decor Tile Baseboard Baseboard Styles Bathroom Baseboard

Aluminum Edge Trim For Tiles Outside Corner Schluter Eck E Schluter Systems Bathroom Wall Tile Tile Edge Wall Tiles

Schluter Trim On Edges Of Shower Pony Wall Tile Bathroom Bathroom Layout Small Bathroom Remodel

How To Tile Around Window Youtube Tile Around Window Window In Shower Tiled Window Sill

1 4 Round Internal Edge Pvc Tile Trims Tile Edge Tile Trim House Design

Bathroom Tiles Border Bathtubs 62 Ideas Bathroom Tile Edge Tile Trim Shower Tile

Installing Grey Straight Edge Tile Trim Kitchen Splashback Metro Tiles Kitchen How To Make Drawers

Scout Shot Of The Day Tile Edge Detail Tile Edge Tile Trim
Https Encrypted Tbn0 Gstatic Com Images Q Tbn 3aand9gcsvyuuguztrwhtegn8uhfbj6oc Bmkwvo8ejzzivri Nldnjyfm Usqp Cau

This Premium Product Will Add A Certain Vibrancy To Your Bathroom This Highly Versatile Glass Tile Is Easy To F Bathroom Wall Coverings Bathroom Bathroom Wall

4x12 Glossy White Horizontal Stacked Subway Style Tile Patterned Bathroom Tiles Tile Bathroom Bathroom Remodel Shower

Victorian Mosaic Floor Tiles Www Hicompany Co Uk Victorian Mosaic Tile Mosaic Floor Tile Mosaic Flooring

Tiling A Kitchen Splashback Pinterest Pin Kitchen Splashback Splashback Metro Tiles

Shower Niche Shower Niche Tile Edge Trim Shower Tile Designs
Source : pinterest.com
