Fitting Bitumen Roof Shingles

Worker Hands Installing Bitumen Roof Shingles Worker Hammer In Nails On The Roo Sponsored Roof S Roof Repair Flat Roof Repair Metal Roofing Contractors

Worker Hands Installing Bitumen Roof Shingles Worker Hammer In Nails On The Roof Roofer Is Hamme Home Improvement Loans Home Improvement Diy Home Improvement

Katepal Classic Hexagonal Bitumen Shingles Black Exterior House Colors Roof Shingles Roof Design

Onduline Corrugated Black Bitumen Roof Sheet 2m X 950mm Roofing Sheets Roofing Corrugated Roofing

Installing Shingles Installing Bitumen Roof Shingles Stock Image Image Of Outdoors Insulation 82250885

Installing Shingles Installing Bitumen Roof Shingles Stock Photo Picture And Royalty Free Image Image 70860859

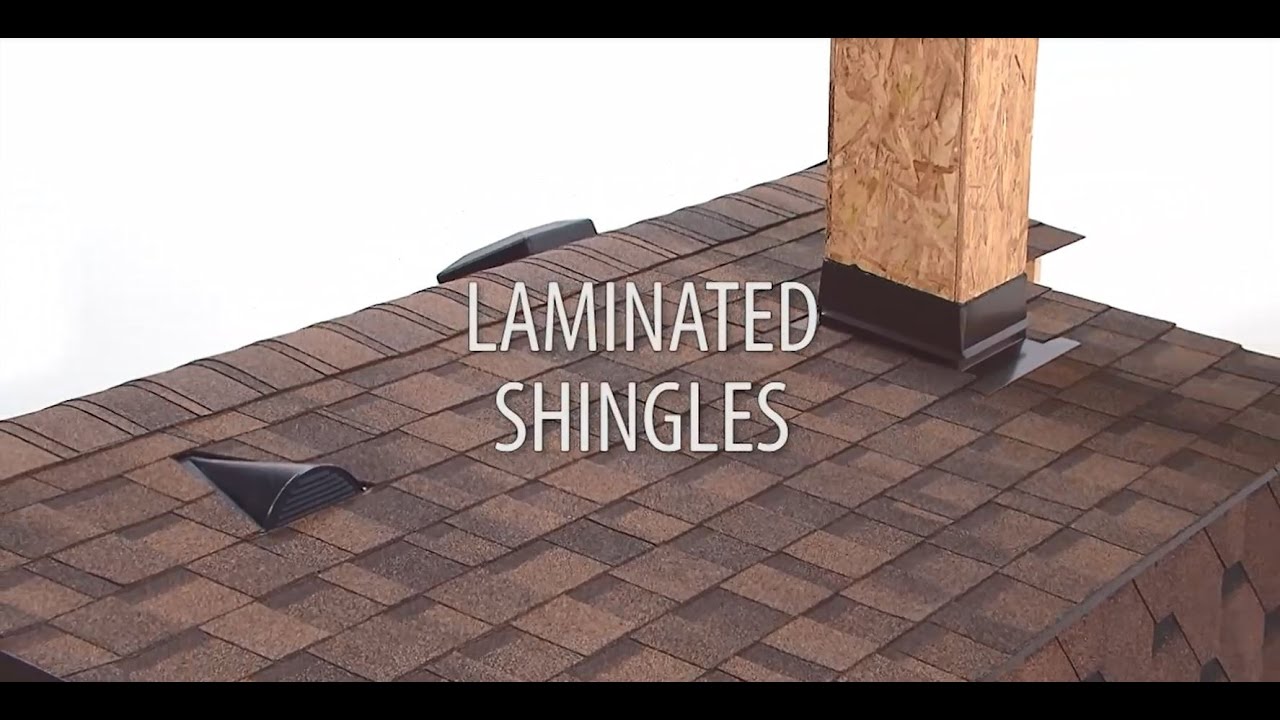
Step 8 the complete shingle roof.
Fitting bitumen roof shingles.

Installing Shingles Installing Bitumen Roof Shingles Stock Photo Picture And Royalty Free Image Image 70860871

Installing Shingles Installing Bitumen Roof Shingles Stock Photo Picture And Royalty Free Image Image 70860856

The Cool Color Of Appalachian Sky With Its Subtle Variety Of Dark Grays And Black Brings Appealing Definition To Stone Facade Brick And Stone Pawleys Island

Installing Shingles Installing Bitumen Roof Shingles Stock Photo Picture And Royalty Free Image Image 70860862

Thru Wall Scupper Detail For A Modified Bitumen Roof In 2020 Roof Construction Roof Detail Flat Roof Construction
Installing Rectangular Roof Shingles Youtube

Installing Shingles Installing Bitumen Roof Shingles Stock Photo Picture And Royalty Free Image Image 70860849

Available To Buy Direct From Onduline Onduvilla Roof Tiles Are A Lightweight Bitumen Roofing Sheet Which Is Ideal For Ga In 2020 Roofing Sheets Roof Covering Roofing

Solar Hanger Bolts For Metal Roof Mounting System In 2020 Hanger Bolts Solar Panels Roof Metal Roof

Your Roof Is Leaking Its Time To Switch Tegola Shingle Bitumen Modern Aphalt Shingle Made In Italy The Best Material House Styles Shingling Roof Shingles

File 150121755027 Asphalt Shingle Roof Details Dwg Asphalt Shingle Roof Details Dwg Modern Huis Modern Huis

Get Waterproof Durable And Up To Date Roofing Solutions In Canada Also Get Installations Of Your Preferred Mater Industrial Roofing Roofing Roofing Systems

Coroline Roofing Corrugated Bitumen Roof Sheet 2m Green For Sheds Stables Etc Ebay Bitumen Roof Roofing Sheets Roofing

Installing Bitumen Roof Shingles Roof Shingles Roofing Stock Photo Picture And Royalty Free Image Image 83809311

Flat Roofing Contractor Kitchener Cambridge Residential Roofing Roofing Roofing Contractors

How To Install Asphalt Shingles Nailing On Ridge Cap Building A Shed Shed Installing Roof Shingles

Red Ondura Corrugated Roofing Sheets On The Roof Of This Bandstand At City Stadium In Richmond Virginia Grill Gazebo Corrugated Roofing Back Patio

We Provide Re Roofing Shingle Roof And Flat Roof Replacement Including Roof Repair Fixing Roof Leak Roof Roof Repair Flat Roof Repair Roofing Contractors
Https Encrypted Tbn0 Gstatic Com Images Q Tbn 3aand9gcrbcewocw2onrinuy9rv1vd4gduy9rmhvkutminxrs Usqp Cau

Are You A Roofing Contractor Looking For A Steady Stream Of Business Roofers Lead Greets Amazing Web Designs Along With The Requiremen

Hot Melt Bitumen Waterproofing Roofing Details House Roof Design Roof Architecture Roof Construction

Icon Of Roof With Icon Of Roof With Black Shingles Bitumen Roofing Cover Industrial Building Design Vector Illustration Isolated On White Background S Izobrazheniyami

2no Skylights Installed Within Our Sarnafil Roof Covering All Up Stands Created By Us Using Sarnafil Membrane Allo Skylight Roof Covering Roof Light

Roof Of Small House With Tar Paper Applied Ready For New Shingles Replace Roof Shingles Roof Shingling
Source : pinterest.com
